

Creating a counter app using the useCounter and useReducer hooks in React, with an error boundary, a 404 page, and good SEO practices


Table of contents
- Introduction to Hooks in Reactjs
- Setting up a New React Project
- Implementing Routing for the Page Components
- Creating a Counter Component with the useCounter Hook
- Creating a Counter Component with the useReducer Hook
- Adding an Error Boundary
- Creating a 404 Page in React
- Applying Good SEO Practices
- Using styled-components for CSS
- Conclusion
In this article, I'm going to share with you all a beginner-friendly guide on how to create a a simple Counter App using the useCounter and useReducer hooks in React, with an error boundary, a 404 page, and good SEO practices. With this you can build your own Counter App without any hassle :)
Introduction to Hooks in Reactjs
React is a popular JavaScript library for building user interfaces, and one of its most powerful features are hooks. Hooks are functions that let you "hook into" React state and lifecycle features from functional components. This means you can use state and other React features without writing a class.
In this tutorial, we will be using two specific hooks: useCounter and useReducer. The useCounter hook is a custom hook that manages state for a simple counter, and the useReducer hook is a built-in hook that lets you manage state with a reducer function. We will also be covering how to add an error boundary to your app, create a 404 page, and apply good SEO practices.
Setting up a New React Project
To get started, you will need to set up a new React project. There are a few different ways to do this, but one of the easiest is to use the create-react-app tool.
First, make sure you have Node.js and npm installed on your computer. Then, open a terminal and run the following command:
npm install -g create-react-app
This will install the create-react-app tool globally on your system. Now you can create a new React project by running the following command:
create-react-app counter-app
This will create a new directory and set up a basic React project inside it.
Next, navigate to the project directory and start the development server by running the following commands:
cd counter-app
npm start
This will start the development server and open a new browser window showing your app. You should see a page with the text "Welcome to React" displayed.
Implementing Routing for the Page Components
To set up routing for the components, we will use the react-router-dom library. This library provides components for setting up routes, links, and navigation in a React app.
First, install the library by running the following command in your terminal:
npm install react-router-dom
Next, import the BrowserRouter, Routes, and Route components from the library in your App component.
import { BrowserRouter, Routes, Route } from 'react-router-dom'
Then, wrap the root element of your app in the Router component.
const App = () => (
  <BrowserRouter>
    {/* Routes go here */}
  </BrowserRouter>
);
Inside the BrowserRouter component, use the Routes component to define a set of routes for your app. Each route should have a path prop that specifies the URL pattern for the route, and an element prop that specifies the React component to render for the route.
For example, here is how you can define a route for the Counter component:
<Routes>
  <Route path='counter' element={<Counter />} />
</Routes>
To create a link to a route, use the NavLink component from the react-router-dom library. The NavLink component has a to prop that specifies the destination URL for the link. The NavLink component has an isActive prop that returns boolean value whether the link is active or not. This helps show the current page of a user
import { Link } from 'react-router-dom';

const Home = () => (
  <div>
    <NavLink to='/counter'>Go to Counter</Link>
  </div>
);
Now you can navigate between the different routes of your app using the links and the URL bar of your browser. Add more page components and Try it out!
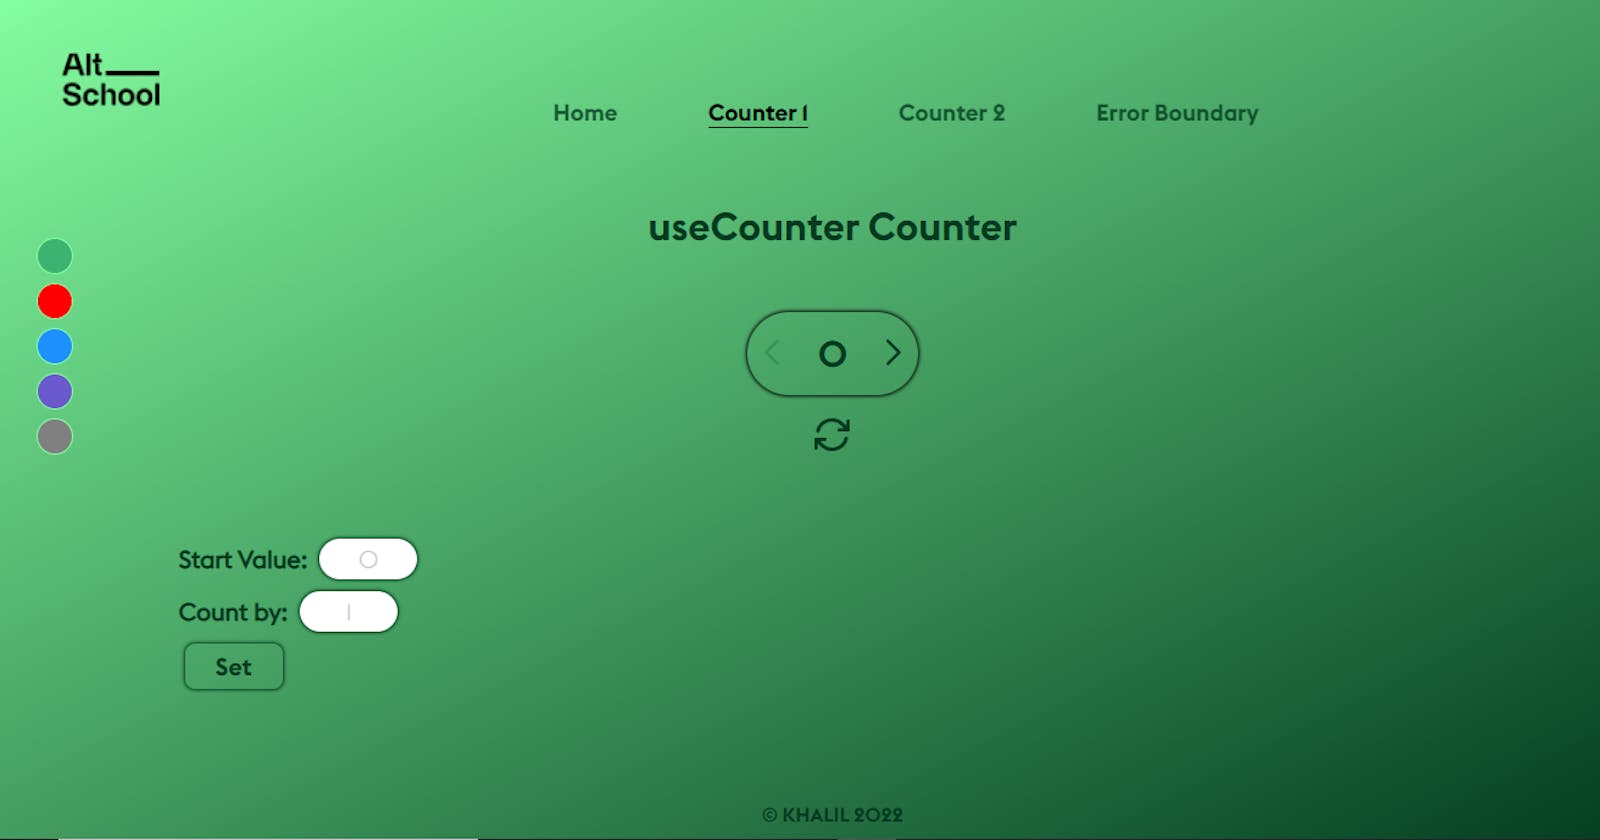
Creating a Counter Component with the useCounter Hook
Now that we have a basic React app set up, let's create a counter component using the useCounter hook.
First, define a new functional component called useCounterCounter in a file called UseCounterCounter.js. Inside the component, import the useCounter hook from a separate file called useCounter.js. This hook will manage state for the counter.
import React from 'react';
import { useCounter } from './useCounter';

const useCounterCounter = () => {
  // useCounter hook goes here
};

export default useCounterCounter;
To create the useCounter hook, you can define a custom hook that manages state for the counter. Custom hooks are functions that start with the word "use" and can call other hooks.
Here is an example of how you can define the useCounter hook:
import { useState } from 'react';

export const useCounter = (initialCount, countBy) => {
  const [count, setCount] = useState(initialCount);

  const increment = () => setCount(count + countBy);
  const decrement = () => setCount(count - countBy);
  const reset = () => setCount(initialCount);

  return { count, increment, decrement, reset };
};
The useCounter hook takes two arguments: the initial count and the count by value. It returns an object with four properties: the current count, a function to increment the count, a function to decrement the count, and a function to reset the count to the initial value.
To use the useCounter hook, import it in your Counter component and call it inside the component's body. The hook returns an object with the properties you can use to update the count and reset the counter.
import React from 'react';
import { useCounter } from './useCounter';

const useCounterCounter = () => {
  const { count, increment, decrement, reset } = useCounter(0, 1);

  return (
    <div>
      <p>Count: {count}</p>
      <button onClick={increment}>+</button>
      <button onClick={decrement}>-</button>
      <button onClick={reset}>Reset</button>
    </div>
  );
};

export default useCounterCounter;
In the component, we are destructuring the count, increment, decrement, and reset properties from the object returned by the useCounter hook. We are also setting the start value to 0 and the count by value to 1.
Finally, we are rendering the current count and some buttons to increment, decrement, and reset the count. The buttons are each connected to a corresponding function from the useCounter hook.
Creating a Counter Component with the useReducer Hook
The useReducer hook is a built-in hook that lets you manage state with a reducer function. It is similar to the useState hook, but it is more powerful and can be used for managing complex state.
Let's create another counter component using the useReducer hook. This time, we will call the component UseReducerCounter.
First, define a new functional component in a file called UseReducerCounter.js. Inside the component, import the useReducer hook from the react library.
import React, { useReducer } from 'react';

const UseReducerCounter = () => {
  // useReducer hook goes here
};

export default UseReducerCounter;
Next, define a reducer function that will handle state updates for the counter. The reducer function takes in the current state and an action object, and returns the new state.
import React, { useReducer } from 'react';

const reducer = (state, action) => {
  switch (action.type) {
    case 'increment':
      return state + action.payload };
    case 'decrement':
      return  state - action.payload };
    case 'reset':
      return state = action.state;
    default:
      return state;
  }
};

const UseReducerCounter = () => {
  const [state, dispatch] = useReducer(reducer, 0 );

  return (
    <div>
      <p>Count: {count}</p>
      <button onClick={() => dispatch({ type: 'increment', payload: 1 })}>
        +
      </button>
      <button onClick={() => dispatch({ type: 'decrement', payload: 1 })}>
        -
      </button>
      <button onClick={() => dispatch({ type: 'reset' })}>Reset</button>
    </div>
  );
};

export default UseReducerCounter;
In the component, we are destructuring the state and dispatch variables from the array returned by the useReducer hook. We are also setting the initial state to an object with a count property set to 0.
Finally, we are rendering the current count and some buttons to increment, decrement, and reset the count. The buttons are each connected to the dispatch function, which sends an action object to the reducer function.
Adding an Error Boundary
An error boundary is a special type of component that can catch errors that occur within its component tree. This is useful for handling runtime errors and displaying a fallback UI instead of a broken app.
To add an error boundary to your app, create a new component called ErrorBoundary that extends React.Component. Inside the component, define a state object with a hasError property and a componentDidCatch lifecycle method. Inside the componentDidCatch method, you can catch any errors that occur within the component tree and set the hasError property to true.
class ErrorBoundary extends React.Component {
  state = { hasError: false };

  componentDidCatch(error, info) {
    this.setState({ hasError: true });
  }

  render() {
    if (this.state.hasError) {
      return <p>An error has occurred.</p>;
    }
    return this.props.children;
  }
}
To use the error boundary, wrap the root element of your app in the ErrorBoundary component. You can also decide to wrap it around a specific component and invoke it when a particular action is done. e.g
import ErrorBoundary from "./ErrorBoundary"
import { useCounter } from './useCounter';

const ErrorBoundaryCounter = () => {
const { count, increment, decrement, reset } = useCounter(0, 1);

  //throw error
  if (count > 5) {
    throw new Error('error')
  }

return (
    <div>
      <p>Count: {count}</p>
      <button onClick={increment}>+</button>
      <button onClick={decrement}>-</button>
      <button onClick={reset}>Reset</button>
    </div>
  );
};

export default ErrorBoundaryCounter;
Now any errors that occur will be caught by the error boundary. You can display a fallback UI or any other message instead of a broken app.
Creating a 404 Page in React
A 404 page is a special page that is displayed when a user tries to access a URL that does not exist on your site. To create a 404 page in React, define a new functional component called NotFound.
Inside the component, render a "404 Not Found" message and a button to go back to the home page. You can use the Link component from the react-router-dom library to create a link to the home page.
import { Link } from 'react-router-dom';

const NotFound = () => (
  <div>
    <p>404 Not Found</p>
    <Link to="/">Go Home</Link>
  </div>
);

export default NotFound;
Now that we have a 404 page, let's set up routing so that it is displayed when a user tries to access an unknown URL.
Define a route for the NotFound component in your App component.
import { BrowserRouter, Routes, Route } from 'react-router-dom';

const App = () => (
  <BrowserRouter>
    <Routes>
      <Route path='/' element={<Home />} />
      <Route path='counter1' element={<UseCounterCounter />} />
      <Route path='counter2' element={<UseReducerCounter />} />
      <Route path='errorBoundary' element={<ErrorBoundaryCounter />} />
      <Route path='*' element={<NotFound />} />
    </Routes>
  </BrowserRouter>
);
The asterisk path handles nonexistent routes in a special way. It causes the route to be called when a nonexistent path is hit. It then displays the NotFound component.
Applying Good SEO Practices
Search engine optimization (SEO) is the process of improving the visibility and ranking of a website in search engine results pages. Good SEO practices can help your app reach a wider audience and attract more traffic.
There are many techniques you can use to improve the SEO of your app, such as:
Using descriptive and relevant page titles and meta tags
Creating a sitemap and submitting it to search engines
Using header tags and alt attributes for images
Creating unique and valuable content
To get started with SEO, make sure you have a clear and descriptive title and meta tags for each page of your app. You use the react-helmet-async
npm i react-helmet-async
Import the Helmet component from react-helmet-async and use the title and meta tags in the Helmet Helmet component.
<Helmet>
 <title>Counter App - AltSchool Africa Second Semester Examination </title>
 <meta name="description" content=" Welcome to my counter app! This is the home page." />
</Helmet>
Next, create a sitemap for your app and submit it to search engines like Google. A sitemap is an XML file that lists all the URLs of your app and helps search engines discover and crawl your pages.
You can use a tool like sitemap-generator to create a sitemap automatically. Then, submit the sitemap to Google by adding it to your Google Search Console account.
Finally, make sure to use header tags (h1, h2, etc.) and alt attributes for images to give search engines more context about your content. And try to create unique and valuable content that will attract and engage users.
Using styled-components for CSS
You can skip this part if you plan to use normal css or any css framework for your project.
styled-components is a library that lets you create styled React components. It allows you to write your CSS styles in JavaScript and apply them directly to your components.
To use styled-components, you will need to install the library by running the following command in your terminal:
npm install styled-components
Next, import the styled function from the library in your component file. You can use the styled function to create a styled component based on a DOM element or a custom component.
import styled from 'styled-components';

const Button = styled.button`
  background-color: red;
  border: none;
  color: white;
  font-size: 16px;
  padding: 8px 12px;
`;
The styled component accepts a template string that contains your CSS styles. You can use any valid CSS syntax in the template string, including nested rules, variables, and media queries.
To use the styled component, you can treat it like any other React component. You can pass props and render it in your JSX code.
<Button onClick={handleClick}>Click me</Button>
You can also customize the styles of the component based on props using the css function.
const Button = styled.button`
  background-color: red;
  border: none;
  color: white;
  font-size: 16px;
  padding: 8px 12px;
  ${props =>
    props.primary &&
    css`
      background-color: blue;
    `}
`;

<Button primary onClick={handleClick}>
  Click me
</Button>
I hope this helps! styled-components is a powerful tool for styling your React components and makes it easy to write
Conclusion
In this tutorial, we learned how to create a counter app using the useCounter and useReducer hooks in React, with an error boundary, a 404 page, and good SEO practices.
We set up a new React project, implemented routing for the counter components and the 404 page, and added a reset functionality to the counters. We also added an error boundary to catch any runtime errors and displayed a fallback UI. Finally, we discussed some techniques for improving the SEO of our app.
I hope this tutorial was helpful for you! Try adding more features to your counter app or experimenting with different hooks. Happy coding!
Here is the link to my Counter App https://counter-app-alpha-one.vercel.app/
And here is my Repo https://github.com/Khalil215/Counter-App